Reading time: 4 minutes.
In the world of web hosting, Arduino as a platform for running a WordPress website might seem like an unusual, if not an impractical choice. Arduino boards are widely known for their role in electronics projects and IoT (Internet of Things) applications, but they are not typically associated with hosting websites, let alone a content management system as robust as WordPress. However, for enthusiasts who love experimenting with technology, hosting a WordPress site on an Arduino presents an interesting challenge. This article explores the feasibility of this idea and provides some basic configuration examples to get you started.
Understanding the Limitations
Before diving into the setup, it’s crucial to understand the limitations of an Arduino in the context of web hosting. Arduino boards are microcontrollers, not full-fledged computers. They have limited processing power, minimal RAM, and no built-in storage capable of handling a standard WordPress installation. To overcome these limitations, we will need to use an SD card for storage and understand that the website’s performance will not be on par with that hosted on a dedicated server or even a Raspberry Pi. It ain’t going to be fast! But it is possible…!?
Required Components
To start this project, you’ll need:
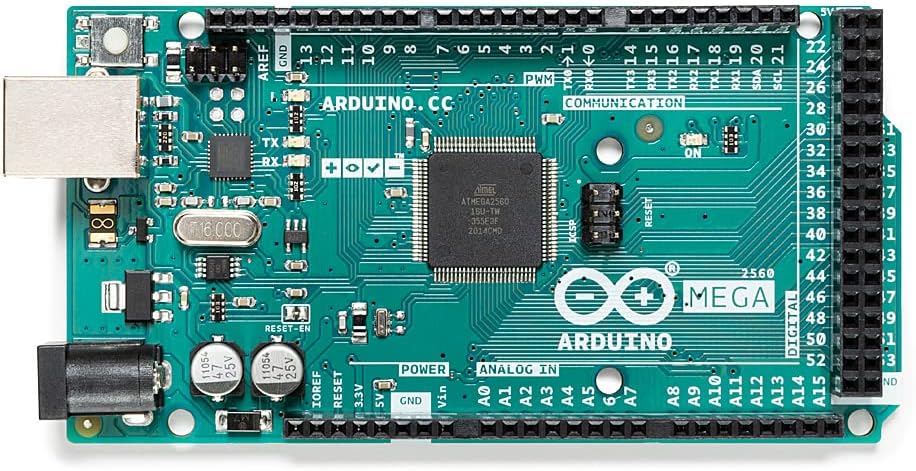
- An Arduino board (Arduino Mega 2560 is recommended for its relatively larger memory).
- An Ethernet Shield or Wi-Fi module for network connectivity.
- An SD card (at least 8GB) to store the WordPress files and data.
- A power supply for the Arduino.
Setting Up the Environment
- Preparing the SD Card: Format the SD card to FAT32. Create a directory named ‘www’ at the root of the SD card. This is where you’ll place your WordPress files.
- Installing a Web Server: Arduino cannot run a full-fledged web server software like Apache. However, you can use smaller web server libraries written for Arduino, such as the ‘Arduino WebServer’ library. This library can handle basic HTTP requests, which is sufficient for a very basic WordPress site.
- Modifying WordPress for Minimalism: Standard WordPress is too resource-intensive for an Arduino. You’ll need a stripped-down version of WordPress. Remove all non-essential files and plugins. You can create a minimal WordPress build by removing themes, plugins, and other features that are not critical.
- Loading WordPress on SD Card: Transfer your minimalist WordPress files to the ‘www’ directory on the SD card.

Configuring the Arduino and Web Server
- Programming the Arduino: Write a sketch to initialize the Ethernet or Wi-Fi shield, mount the SD card, and run the web server. Use the SPI library to communicate with the Ethernet shield and the SD card.
- Handling HTTP Requests: Your sketch should handle basic HTTP GET and POST requests. WordPress operates primarily through these requests. You need to write code to serve the WordPress PHP files when requested.
- PHP and Database: Arduino cannot run PHP natively or host a database. One workaround is to use an external server for PHP processing and database hosting. Your Arduino would act as a gateway, sending and receiving requests to this server.
- Dynamic DNS Service: Since your Arduino will likely be behind a dynamic IP, use a Dynamic DNS service to give your Arduino a fixed domain name.
Testing Your Setup
Once everything is configured:
- Power up your Arduino and ensure it’s connected to the network.
- Open a web browser and navigate to the domain you set up with your Dynamic DNS service.
- If everything is set up correctly, you should see your minimal WordPress site.
Conclusion

Hosting a WordPress website on an Arduino is more of a proof-of-concept or educational project than a practical solution for hosting websites. The process involves significant downsizing and adaptation of WordPress, and even then, the site’s functionality will be extremely limited. This setup can be a fun experiment for those interested in the intersection of web development and embedded systems, but for any serious application, traditional web hosting solutions are strongly recommended.
Configuration Example:
Here’s a simplified example of an Arduino sketch that might be used for this project:
#include <SPI.h>
#include <Ethernet.h>
#include <SD.h>

// Initialize the Ethernet client library
// with the IP address and port of the server
EthernetClient client;

void setup() {
  // Open serial communications and wait for port to open:
  Serial.begin(9600);

  // Start the Ethernet connection:
  if (Ethernet.begin(mac) == 0) {
    Serial.println("Failed to configure Ethernet using DHCP");
    // Try to configure using IP address instead of DHCP:
    Ethernet.begin(mac, ip);
  }
  delay(1000);
  // Start the SD card
  if (!SD.begin(chipSelect)) {
    Serial.println("Card failed, or not present");
    // Don't do anything more:
    return;
  }
}

void loop() {
  // Check for incoming clients
  EthernetClient client = server.available();
  if (client) {


    // An http request ends with a blank line
    boolean currentLineIsBlank = true;
    while (client.connected()) {
      if (client.available()) {
        // Process and respond to requests
      }
    }
    // Give the web browser time to receive the data
    delay(1);
    // Close the connection:
    client.stop();
  }
}
This code is a starting point and will need significant expansion and modification to integrate with WordPress and handle HTTP requests appropriately.
Remember, this project is more about the learning experience and the challenge than practicality. For those who take it on, it’s a great way to deepen understanding of both web hosting and microcontroller programming.