Reading time: 7 minutes.
As a web developer, you are already proficient in building interactive, user-friendly, and functional websites. The transition to mobile app development can seem daunting at first, but with your existing skill set, it’s a natural progression that can open up new opportunities and expand your professional horizons. This article will guide you through the process of switching to mobile app development, covering the key concepts, tools, and strategies you need to succeed.
Understanding the Mobile App Development Landscape
Differences Between Web and Mobile Development
The first step in transitioning to mobile app development is understanding the key differences between web and mobile development:
- Platform Diversity: Unlike web development, which typically involves building for a single platform (the web), mobile development requires you to consider multiple platforms, primarily iOS and Android. Each platform has its own programming languages, development environments, and design guidelines.
- User Interface Design: Mobile apps require a different approach to UI design. Screen sizes are smaller, and interactions are primarily touch-based. This necessitates a focus on touch gestures, responsive layouts, and optimized user experiences for smaller screens.
- Performance Considerations: Mobile devices have more limited resources compared to desktops. Efficient use of memory, processing power, and battery life is crucial. Mobile apps need to be optimized to run smoothly on a variety of devices with different capabilities.
- Development Environment: Mobile development often involves using integrated development environments (IDEs) like Xcode for iOS and Android Studio for Android. These IDEs provide tools specific to mobile app development, such as emulators, debugging tools, and UI designers.
Learning the Basics
Before diving into mobile app development, familiarize yourself with the basics:
- Programming Languages: For iOS, you’ll need to learn Swift or Objective-C. For Android, you’ll use Java or Kotlin. If you prefer a cross-platform approach, consider learning Dart for Flutter or JavaScript/TypeScript for React Native.
- Development Tools: Get comfortable with the primary IDEs. Xcode is used for iOS development, while Android Studio is the go-to for Android. For cross-platform development, familiarize yourself with tools like Flutter and React Native.
- Design Guidelines: Both Apple and Google provide comprehensive design guidelines (Human Interface Guidelines for iOS and Material Design for Android). Understanding these guidelines will help you create apps that feel native to each platform.
Choosing a Development Path
Native vs. Cross-Platform Development
One of the first decisions you’ll need to make is whether to develop natively or use a cross-platform framework.
- Native Development: This involves building separate apps for iOS and Android using their respective languages and tools. Native apps tend to have better performance and can take full advantage of platform-specific features. However, developing two separate apps requires more effort and resources.
- Cross-Platform Development: Tools like Flutter, React Native, and Xamarin allow you to write a single codebase that can run on both iOS and Android. This can save time and effort, especially for small teams or individual developers. However, cross-platform apps may not always achieve the same level of performance and native look and feel as fully native apps.
Recommended Cross-Platform Frameworks
- React Native: Developed by Facebook, React Native allows you to build mobile apps using JavaScript and React. It’s a popular choice due to its ease of use and large community.
- Flutter: Developed by Google, Flutter uses the Dart language and offers a rich set of pre-designed widgets. It’s known for its high performance and flexible UI design capabilities.
- Xamarin: Owned by Microsoft, Xamarin allows you to build apps using C#. It’s integrated with Visual Studio and provides a robust toolset for cross-platform development.
Setting Up Your Development Environment
Installing Necessary Tools
Depending on your chosen development path, you’ll need to install the appropriate tools:
- For Native iOS Development:
- Install Xcode from the Mac App Store.
- Learn the basics of Swift and Objective-C.
- Familiarize yourself with Interface Builder and SwiftUI for UI design.
- For Native Android Development:
- Download and install Android Studio from the official website.
- Learn Java or Kotlin.
- Get to know the Android SDK, emulators, and XML-based UI design.
- For Cross-Platform Development:
- For React Native: Install Node.js, npm (Node Package Manager), and the React Native CLI. You’ll also need Xcode for iOS development and Android Studio for Android.
- For Flutter: Download and install the Flutter SDK. You’ll also need the Dart language and the Flutter CLI. As with React Native, Xcode and Android Studio are required for platform-specific tasks.
Setting Up Emulators and Testing Devices
Testing is a crucial part of mobile app development. Set up emulators for both iOS and Android:
- iOS Emulator: Xcode includes an iOS Simulator. You can test your app on various iPhone and iPad models.
- Android Emulator: Android Studio includes an Android Emulator. You can create virtual devices with different screen sizes and Android versions.
In addition to emulators, it’s beneficial to test your app on real devices to ensure it performs well in real-world scenarios. Connect your iOS and Android devices to your development machine and deploy your app directly to them for testing.
Learning Resources and Tutorials
Online Courses and Tutorials
There are numerous online resources to help you learn mobile app development:
- Udemy: Offers comprehensive courses on both native and cross-platform development.
- Coursera: Provides courses from top universities and companies, including Google and Meta.
- YouTube: Many developers and educators share free tutorials and walkthroughs.
Documentation and Official Guides
Official documentation is an invaluable resource:
- Apple Developer Documentation: Extensive guides and references for iOS development.
- Android Developer Documentation: Comprehensive resources for Android development.
- React Native Documentation: Detailed guides and examples for React Native.
- Flutter Documentation: Thorough documentation for Flutter and Dart.
Building Your First Mobile App
Choosing a Project
Start with a simple project to get hands-on experience. Consider building an app with basic features like user authentication, data storage, and API integration. This could be a to-do list app, a weather app, or a note-taking app.
Designing the UI
Focus on creating a user-friendly and visually appealing interface. Use platform-specific design guidelines to ensure your app feels native:
- For iOS: Follow Apple’s Human Interface Guidelines.
- For Android: Adhere to Google’s Material Design principles.
Writing the Code
Implement the core functionality of your app. Break down the project into manageable tasks:
- User Authentication: Implement login and registration features using Firebase Authentication or a similar service.
- Data Storage: Use local storage solutions like SQLite or Realm, or cloud-based solutions like Firebase Firestore or AWS Amplify.
- API Integration: Fetch data from external APIs using libraries like Retrofit (for Android), Alamofire (for iOS), or Axios (for React Native).
Testing and Debugging
Thoroughly test your app on both emulators and real devices. Use debugging tools provided by your development environment to identify and fix issues:
- Xcode: Use the Debug Navigator and Instruments for profiling.
- Android Studio: Utilize the Logcat, Profiler, and Debugger tools.
- React Native: Leverage React Developer Tools and Flipper for debugging.
Publishing Your App
Preparing for Release
Before publishing your app, ensure it meets the quality standards of the app stores:
- Optimize Performance: Ensure your app runs smoothly and efficiently.
- Adhere to Guidelines: Follow Apple’s App Store Review Guidelines and Google’s Play Store Policies.
- Test on Multiple Devices: Ensure your app works well on various devices and screen sizes.
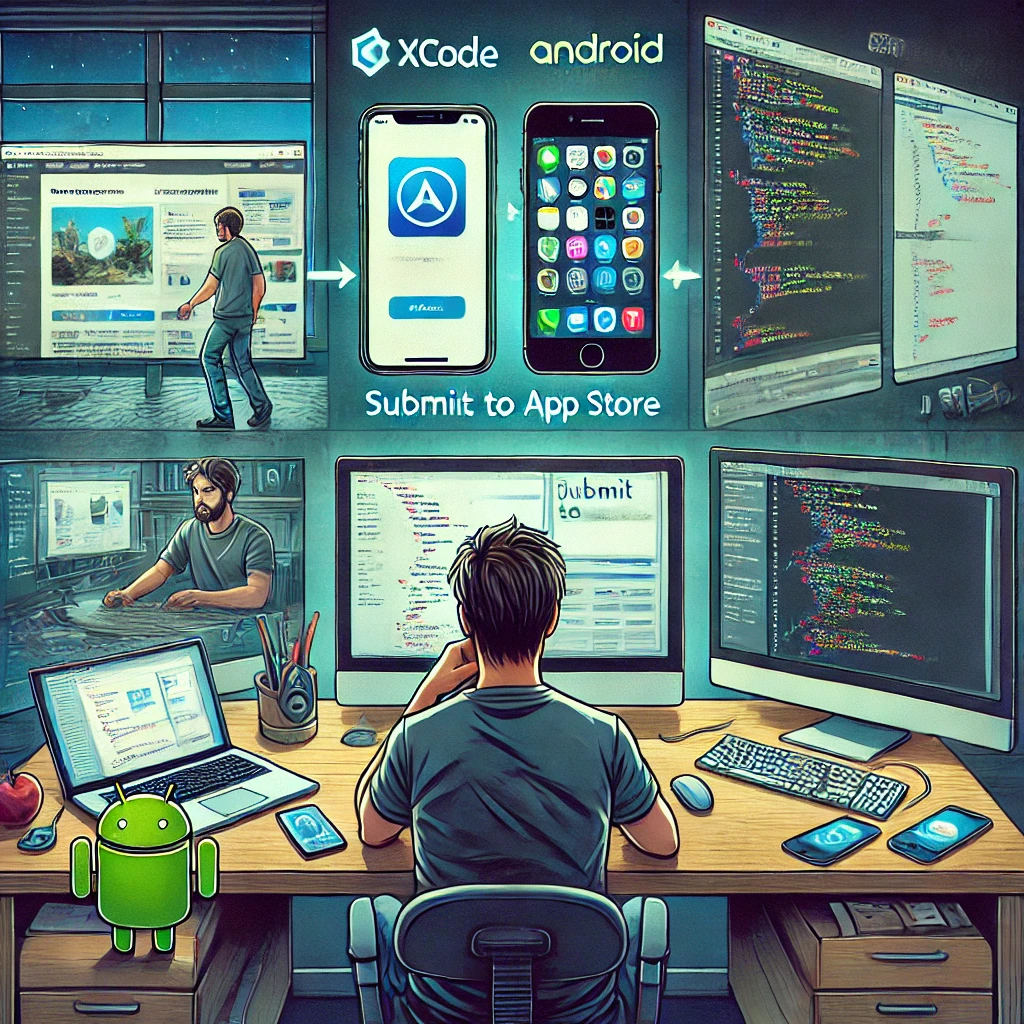
Submitting to App Stores
- iOS App Store:
- Create an Apple Developer account.
- Prepare your app for submission using Xcode.
- Submit your app through App Store Connect.
- Google Play Store:
- Create a Google Play Developer account.
- Prepare your app for release using Android Studio.
- Submit your app through the Google Play Console.
Continuous Learning and Improvement
Staying Updated
Mobile app development is a rapidly evolving field. Stay updated with the latest trends, tools, and best practices:
- Follow Blogs and News Sites: Websites like Medium, TechCrunch, and developer-specific blogs provide valuable insights.
- Join Developer Communities: Participate in forums like Stack Overflow, Reddit, and specialized Slack channels.
- Attend Conferences and Meetups: Events like WWDC, Google I/O, and local developer meetups offer opportunities to learn and network.
Building a Portfolio
As you gain experience, build a portfolio showcasing your projects. A strong portfolio can help you land jobs, freelance gigs, or attract collaborators for new ventures. Include:
- Screenshots and Demos: Visual representations of your apps.
- Code Samples: Links to repositories on GitHub or other version control platforms.
- Case Studies: Detailed descriptions of your projects, including the problem, solution, and technologies used.
Conclusion
Switching to mobile app development as a web developer is a challenging but rewarding journey. By leveraging your existing skills and embracing new tools and technologies, you can successfully transition to this exciting field. Start with small projects, continuously learn and improve, and before long, you’ll be creating mobile apps that delight users and open up new career opportunities. Happy coding!

