Reading time: 3 minutes.
WordPress, a versatile and user-friendly content management system, powers a significant portion of the web. This begs the question: Can you host a WordPress website on a Raspberry Pi? Surprisingly, the answer is yes! With the right setup and configuration, a Raspberry Pi can effectively run a WordPress site, offering a low-cost and educational experience for web hosting. In this post, we’ll guide you through the necessary steps and configurations to get your WordPress site up and running on a Raspberry Pi.
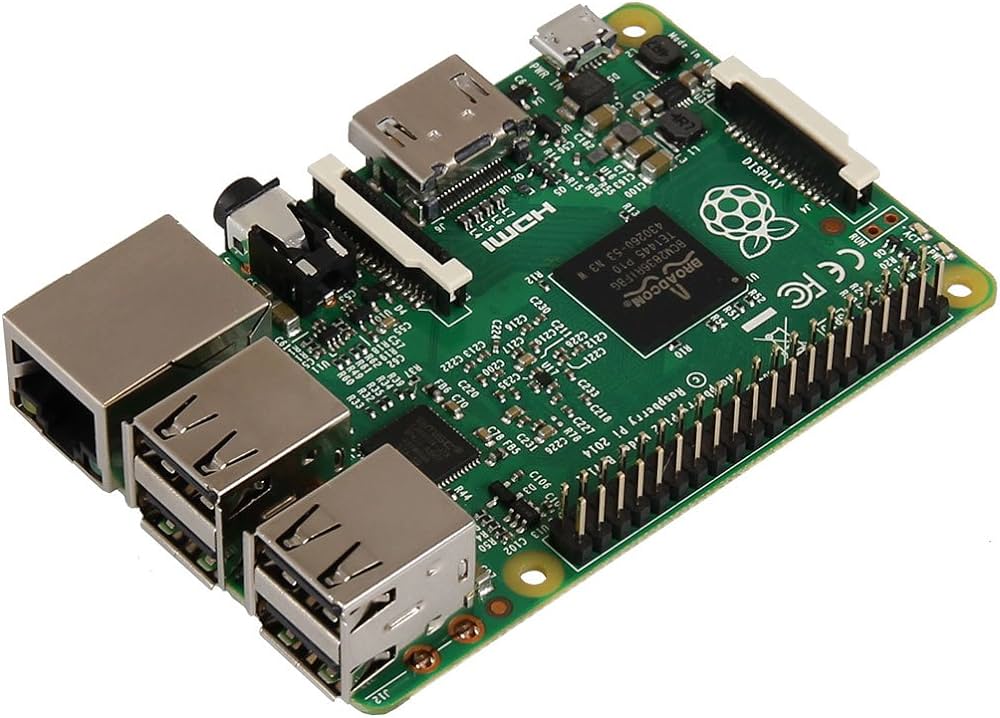
What You Need
Before diving into the setup, ensure you have the following:
- A Raspberry Pi (Model 3B or later is recommended for better performance)
- A microSD card (16GB or larger)
- A power supply for your Raspberry Pi
- An internet connection
- Basic knowledge of Linux command line
Step 1: Setting Up Raspberry Pi
First, you’ll need to install an operating system on your Raspberry Pi. Raspbian, a Debian-based OS optimized for the Raspberry Pi, is a suitable choice.
- Download the Raspbian image from the Raspberry Pi website.
- Use a software like BalenaEtcher to flash the image onto your microSD card.
- Insert the microSD card into your Raspberry Pi, connect it to a monitor, keyboard, and mouse, and power it up.
- Go through the initial setup, including setting up a network connection and updating the software.
Step 2: Installing a LAMP Server
WordPress requires a web server, a database, and PHP. Installing a LAMP (Linux, Apache, MySQL, PHP) stack fulfills these requirements.
- Open the terminal and update your package list:
   sudo apt update
sudo apt upgrade- Install Apache:
sudo apt install apache2 -y- Install MySQL:
sudo apt install mariadb-server -y- Secure your MySQL installation:
sudo mysql_secure_installation- Install PHP along with necessary modules:
sudo apt install php php-mysql libapache2-mod-php -yStep 3: Configuring MySQL
- Log into MySQL:
sudo mysql -u root -p- Create a database for WordPress:
CREATE DATABASE wordpress;- Create a MySQL user and grant privileges:
   GRANT ALL PRIVILEGES ON wordpress.* TO 'wpuser'@'localhost' IDENTIFIED BY 'password';
   FLUSH PRIVILEGES;
   EXIT;
Step 4: Installing WordPress
- Download WordPress:
wget https://wordpress.org/latest.tar.gz- Extract the WordPress archive and move it to the web root:
   tar xzf latest.tar.gz
sudo mv wordpress /var/www/html/- Change ownership of the WordPress directory:
sudo chown -R www-data:www-data /var/www/html/wordpressStep 5: Configuring Apache
- Create a new Apache configuration file for your WordPress site:
sudo nano /etc/apache2/sites-available/wordpress.conf- Add the following configuration:
   <VirtualHost *:80>
       ServerAdmin webmaster@localhost
       DocumentRoot /var/www/html/wordpress
       ErrorLog ${APACHE_LOG_DIR}/error.log
       CustomLog ${APACHE_LOG_DIR}/access.log combined
</VirtualHost>- Enable the new configuration and rewrite module:
   sudo a2ensite wordpress.conf
sudo a2enmod rewrite- Restart Apache:
sudo systemctl restart apache2Step 6: Finalizing WordPress Installation
- Open your web browser and go to your Raspberry Pi’s IP address. You should see the WordPress setup page.
- Follow the instructions to select a language, and then enter the database details (database name, username, and password).
- Complete the WordPress installation by providing a site title, username, password, and email.
Conclusion
Congratulations! You have successfully hosted a WordPress site on your Raspberry Pi. This setup is ideal for learning, testing, or hosting small personal projects. However, it’s important to note that a Raspberry Pi has limitations in terms of processing power and bandwidth, so it may not be suitable for high-traffic websites.
Hosting WordPress on a Raspberry Pi demonstrates the versatility and power of this tiny device. It’s a great way to learn about web hosting, WordPress management, and network configuration. Enjoy your new WordPress site hosted on your Raspberry Pi!