Reading time: 7 minutes.
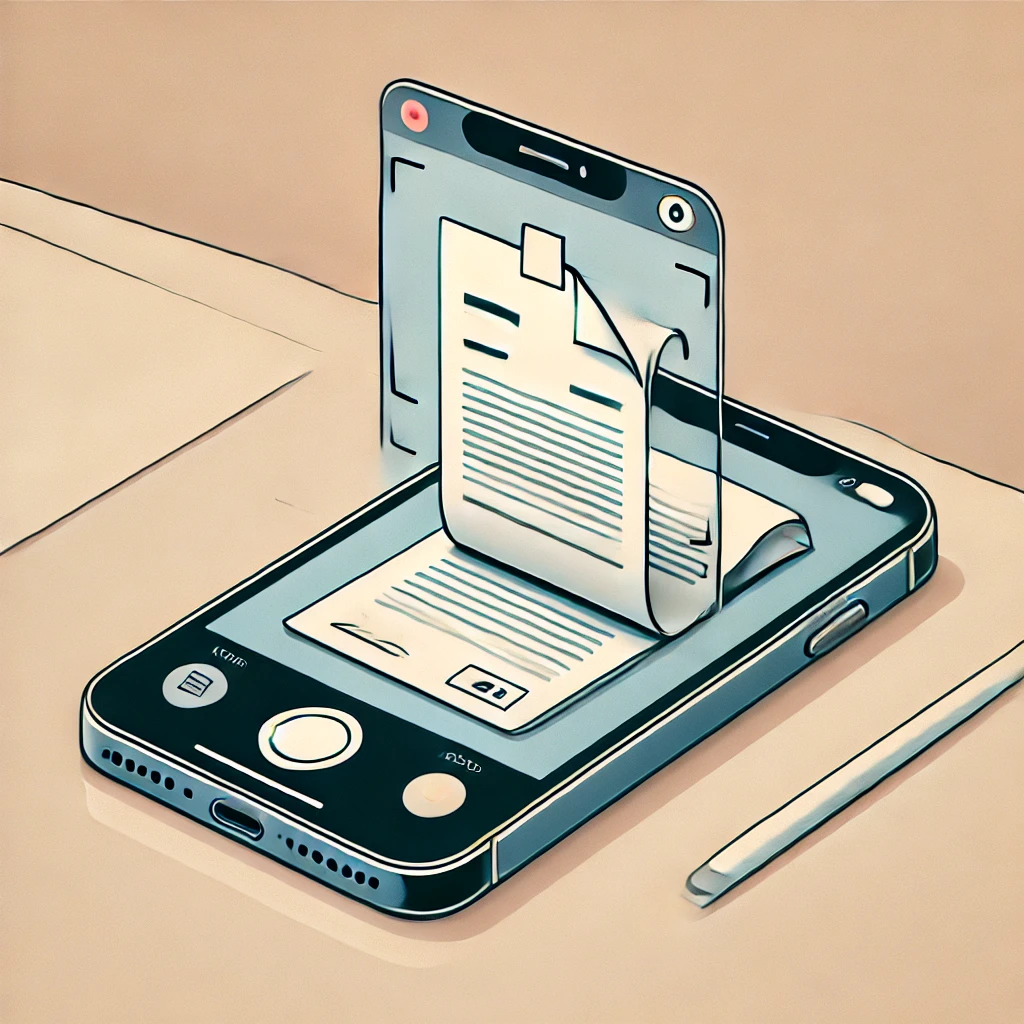
Hey there! If you’re anything like me, you probably try to get the most out of your iPhone, right? It’s amazing how much these little devices can do—texting, browsing, photos, and even scanning documents! Yup, you heard me right. Your iPhone can actually double as a scanner, making it super easy to digitize all your important papers without needing an actual scanner.
Whether you need to scan receipts, contracts, or notes, your iPhone’s got you covered. In this post, I’ll walk you through all the ways to scan documents on your iPhone. I’ll also throw in a few tips to help you make the most of this feature. Trust me, once you get the hang of it, you’ll wonder how you ever managed without it!
Why Scanning on Your iPhone is Awesome
Before we dive into the “how,” let’s talk about why you’d want to use your iPhone as a scanner in the first place. There are a ton of reasons why it’s super handy:
- Convenience: Forget running to the office or library just to scan a document. With your iPhone, you can do it on the go—whether you’re at home, at a café, or even in your car!
- Cost-effective: No need to buy an expensive scanner or even download paid apps. The built-in scanning feature on your iPhone works beautifully and is completely free.
- High-quality results: You’d be surprised at how crisp and clear the scans can be. You can easily adjust the scan quality, too, so you can save your scans in high resolution.
- Easy sharing: After scanning, you can send your document as a PDF or JPEG, email it, or even upload it to a cloud service like iCloud, Google Drive, or Dropbox.
- Eco-friendly: By scanning your documents and saving them digitally, you’re reducing the need for printing and paper. Win for the planet!
Alright, now that you’re excited about scanning on your iPhone, let’s jump into the step-by-step guide!
Step-by-Step: How to Scan Documents Using the Notes App
The easiest and most efficient way to scan documents on your iPhone is through the Notes app. If you’ve never used it for scanning, you’re in for a treat. Here’s how to get started:
1. Open the Notes App
First things first, locate the Notes app on your iPhone. It’s that little icon that looks like a notepad with a yellow stripe at the top. If you can’t find it, don’t worry—just swipe down from your home screen and type “Notes” in the search bar.
2. Create a New Note
Once you’ve opened the Notes app, create a new note by tapping the little pencil-and-paper icon in the bottom-right corner. If you want to add the scan to an existing note, just open that note instead.
3. Tap the Camera Icon
Here’s where the magic happens! At the bottom of the note, you’ll see a camera icon. Tap that, and you’ll get a few options like “Take Photo or Video,” “Photo Library,” and—drumroll please—Scan Documents.
4. Position Your Document
Now, point your iPhone’s camera at the document you want to scan. You’ll notice that the app tries to automatically detect the edges of the paper and capture it for you. If it gets it right, it’ll snap the scan for you, but don’t worry—you can also manually adjust it.
5. Adjust and Save Your Scan
Once your scan is captured, you’ll get the chance to adjust it. You can move the corners to make sure the edges line up perfectly. When you’re happy with how it looks, tap Keep Scan. If you’ve got multiple pages to scan, just keep repeating this process. Otherwise, tap Save.
6. Share or Save Your Scanned Document
When your scan is saved in the note, you can tap on it to bring up more options. You can choose to Share it by emailing it, texting it, or even saving it to your Files app or cloud storage. The format is typically PDF, but you can save it as a JPEG if you need.
And that’s it! You’ve successfully scanned a document using the Notes app. But wait, there’s more! The Notes app is great, but if you’re looking for more advanced features, there are other apps and tricks you might want to try.
Other Ways to Scan Documents on iPhone
Using the Files App
Did you know the Files app can also scan documents? If you prefer keeping everything in one central hub (like your Files app), this method might be better for you. Here’s how to scan using the Files app:
- Open the Files app on your iPhone.
- Tap the three dots in the top-right corner and select Scan Documents.
- Position your document under the camera, just like in the Notes app.
- Adjust if necessary, then hit Keep Scan.
- Once you’ve scanned all the pages you need, tap Save, and your scans will be stored in your Files app.
This method is great for people who like to keep their documents neatly organized in folders, ready for quick access.
Using Third-Party Apps
While the Notes and Files apps are perfectly capable of handling most scanning needs, some third-party apps offer extra features like text recognition (OCR), annotations, and more editing options. Here are a few popular ones to consider:
- Adobe Scan: One of the most popular scanning apps, Adobe Scan is free and comes with built-in OCR (optical character recognition), so you can turn scanned documents into editable text. It’s a lifesaver if you’re working with a lot of text-heavy documents.
- Microsoft Lens: This app is great for scanning not just documents but also whiteboards and other surfaces. It also integrates smoothly with Microsoft Office, making it easy to save scans directly to OneNote or OneDrive.
- Scanner Pro: If you scan documents regularly and want a more feature-rich experience, Scanner Pro is a great option. It offers advanced tools like batch scanning and smart file naming, which can save you time if you’re scanning a lot.
Pro Tips for Better Scans
You’re now an iPhone scanning pro! But before you go off to digitize your entire filing cabinet, let me give you a few tips to help you get the best possible scans.
1. Good Lighting Is Key
Make sure your document is well-lit. Natural light is the best, but if you’re scanning indoors, try to use a lamp that doesn’t cast harsh shadows. Dark or uneven lighting can result in blurry or grainy scans.
2. Keep Your Phone Steady
When scanning, try to hold your iPhone as steady as possible. Shaky hands can make your scan look warped or out of focus. If necessary, prop your phone on something sturdy, or even use a tripod if you have one.
3. Flat Surfaces Work Best
Always place your document on a flat surface. If the paper is crumpled or bent, the scan may not come out as clean as you’d like. Take a second to smooth it out before scanning.
4. Use Grayscale for Text
If you’re scanning text-heavy documents, try using the grayscale setting (available in most scanning apps). This can reduce the file size while keeping the text sharp and easy to read.
5. Double-Check Edges
Even though the iPhone automatically detects edges, it doesn’t always get it perfect. Always take a second to manually adjust the edges of your scan to avoid cutting off important parts of the document.
Conclusion: Scanning with Your iPhone is a Game-Changer
And there you have it—a complete guide on how to scan documents on your iPhone. Whether you’re using the built-in Notes app, the Files app, or a third-party tool, the process is straightforward and user-friendly. You don’t need to be tech-savvy to get high-quality scans in just a few minutes.
This feature has saved me countless trips to the office and has made keeping track of receipts, contracts, and even handwritten notes so much easier. Now that you know how to scan documents with your iPhone, I’m confident it’ll be a game-changer for you, too!
So go ahead—try it out! Whether it’s a one-page document or a multi-page contract, your iPhone is ready to help you scan and organize your life like a pro. Happy scanning! 😊